HydroGap SA combines the water-shedding benefits of a drainable housewrap with the air-sealing benefits of an adhesive. Here is a brief overview of the installation process, including strategies to consider to ensure you get the most out of this innovative new product.
Have a Plan
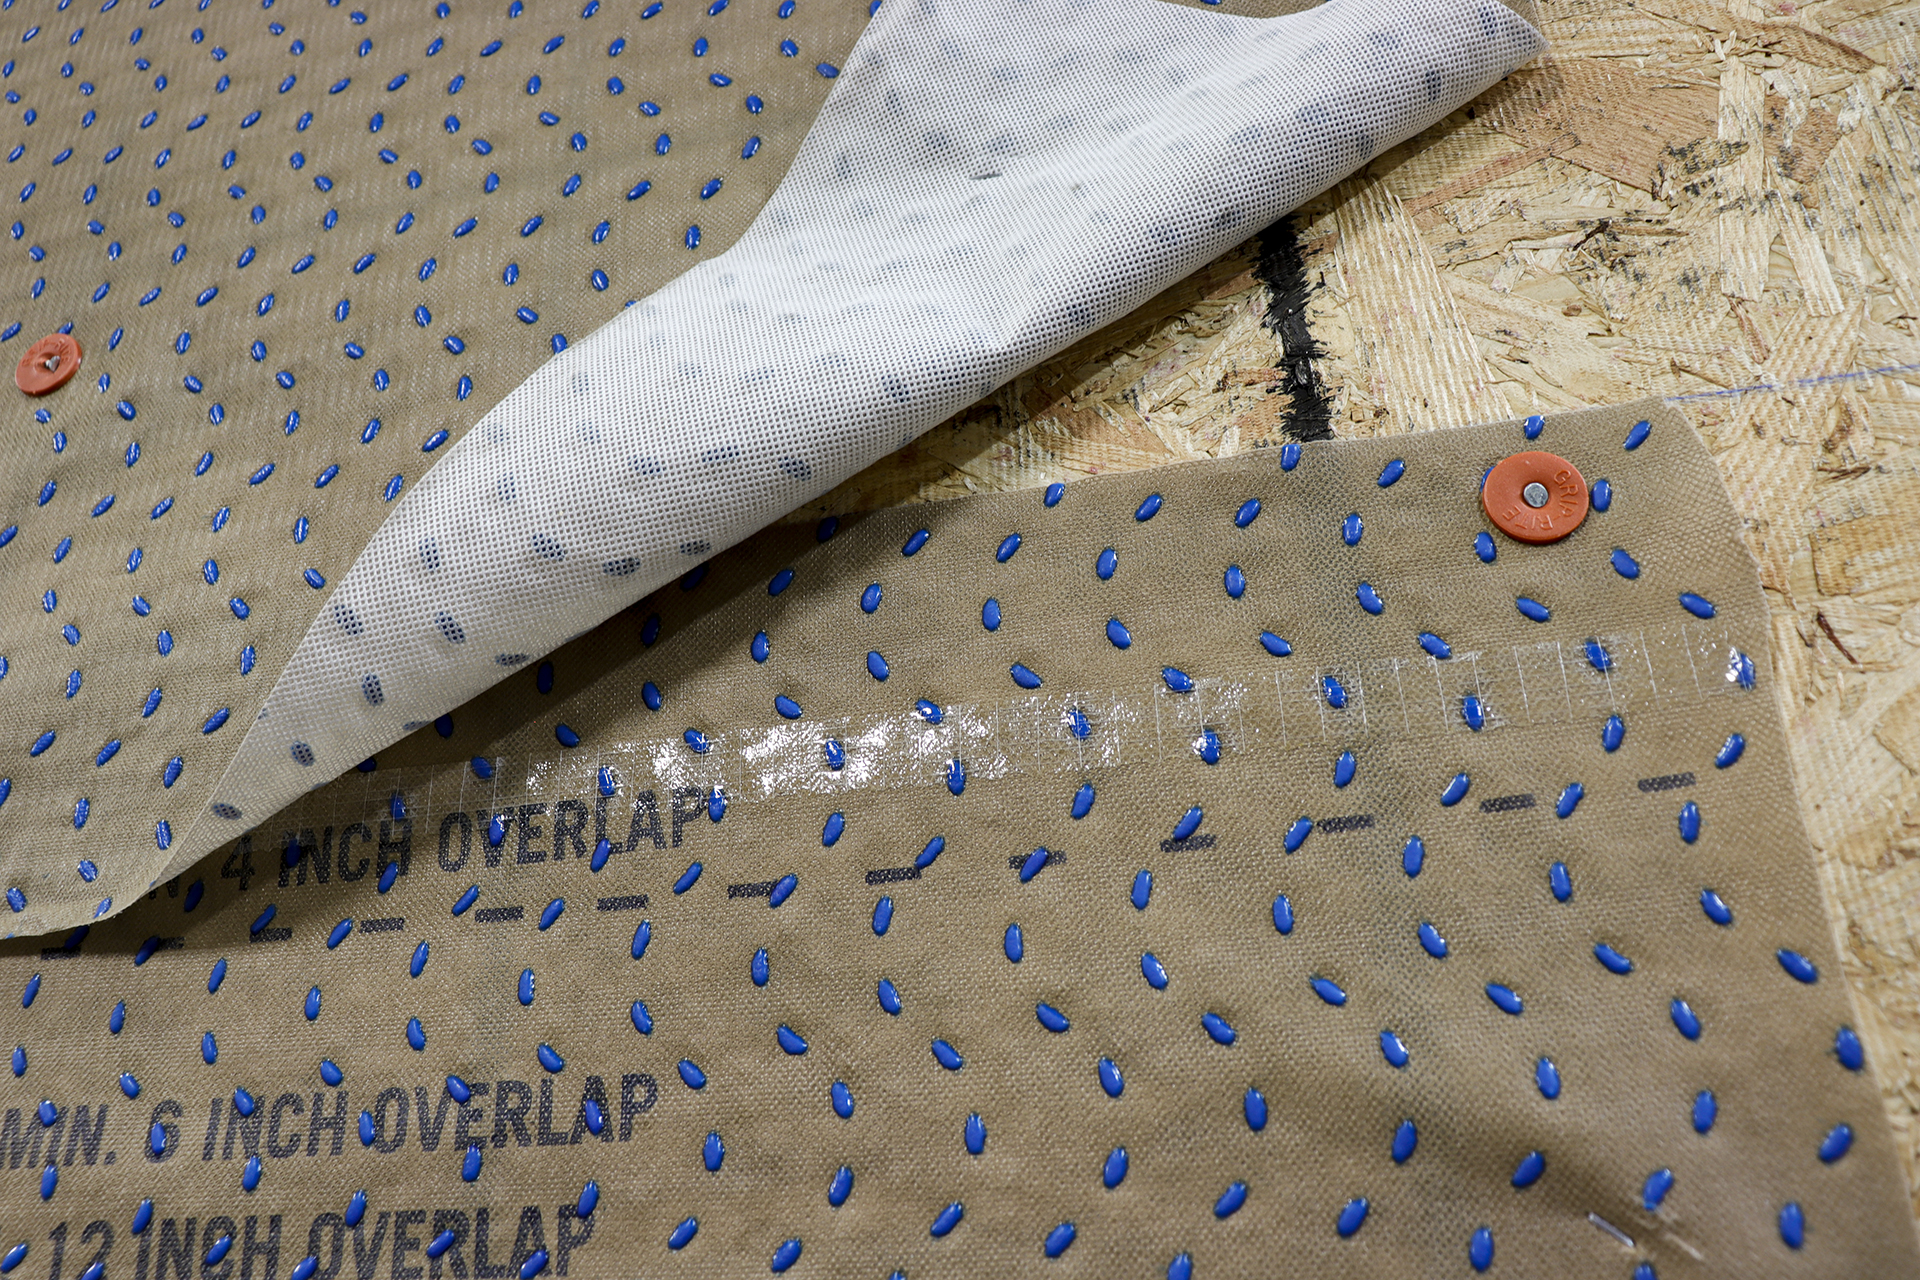
When using a self-adhered product, the planning stage is extremely important. Take a look at the building you’re working on and determine ahead of time how to tackle any difficult areas. For outside corners, for example, consider installing one plane at a time since you won’t be able to wrap around corners unless both sides are set. Knowing when windows are being installed will also determine how you should cut and apply the opening in the housewrap.
In an effort to keep the product dry and warm, check the weather forecast and plan to install on a day where conditions are ideal. Store the product in a conditioned space above 45 degree F prior to installation. A primer is not required when the surface temperature is above 25 degrees F, schedule installation in the afternoon to allow the sun to warm the wall surface. In addition, plan to have enough people on site. Although the product can be installed by one person, it’s much easier with two.
Understanding any potential challenges and developing a plan beforehand can make for a trouble-free installation.
Get the Surface Ready
The product can only perform as well as the substrate it’s adhered to. Prepare the surface by ensuring it’s as clean and dry as possible. This will allow HydroGap SA to adhere more effectively. For plywood and OSB sheathing, gently bang on the wall with a hammer to vibrate out any remaining sawdust; you can also use a push broom or compressed air to blow it off.
Next, snap chalk lines. One of the most important steps, these straight edges will promote an efficient installation while reducing the chance of wrinkles.
Air Barrier Drainable Housewrap Samples
GET YOUR FREE SAMPLES TODAY
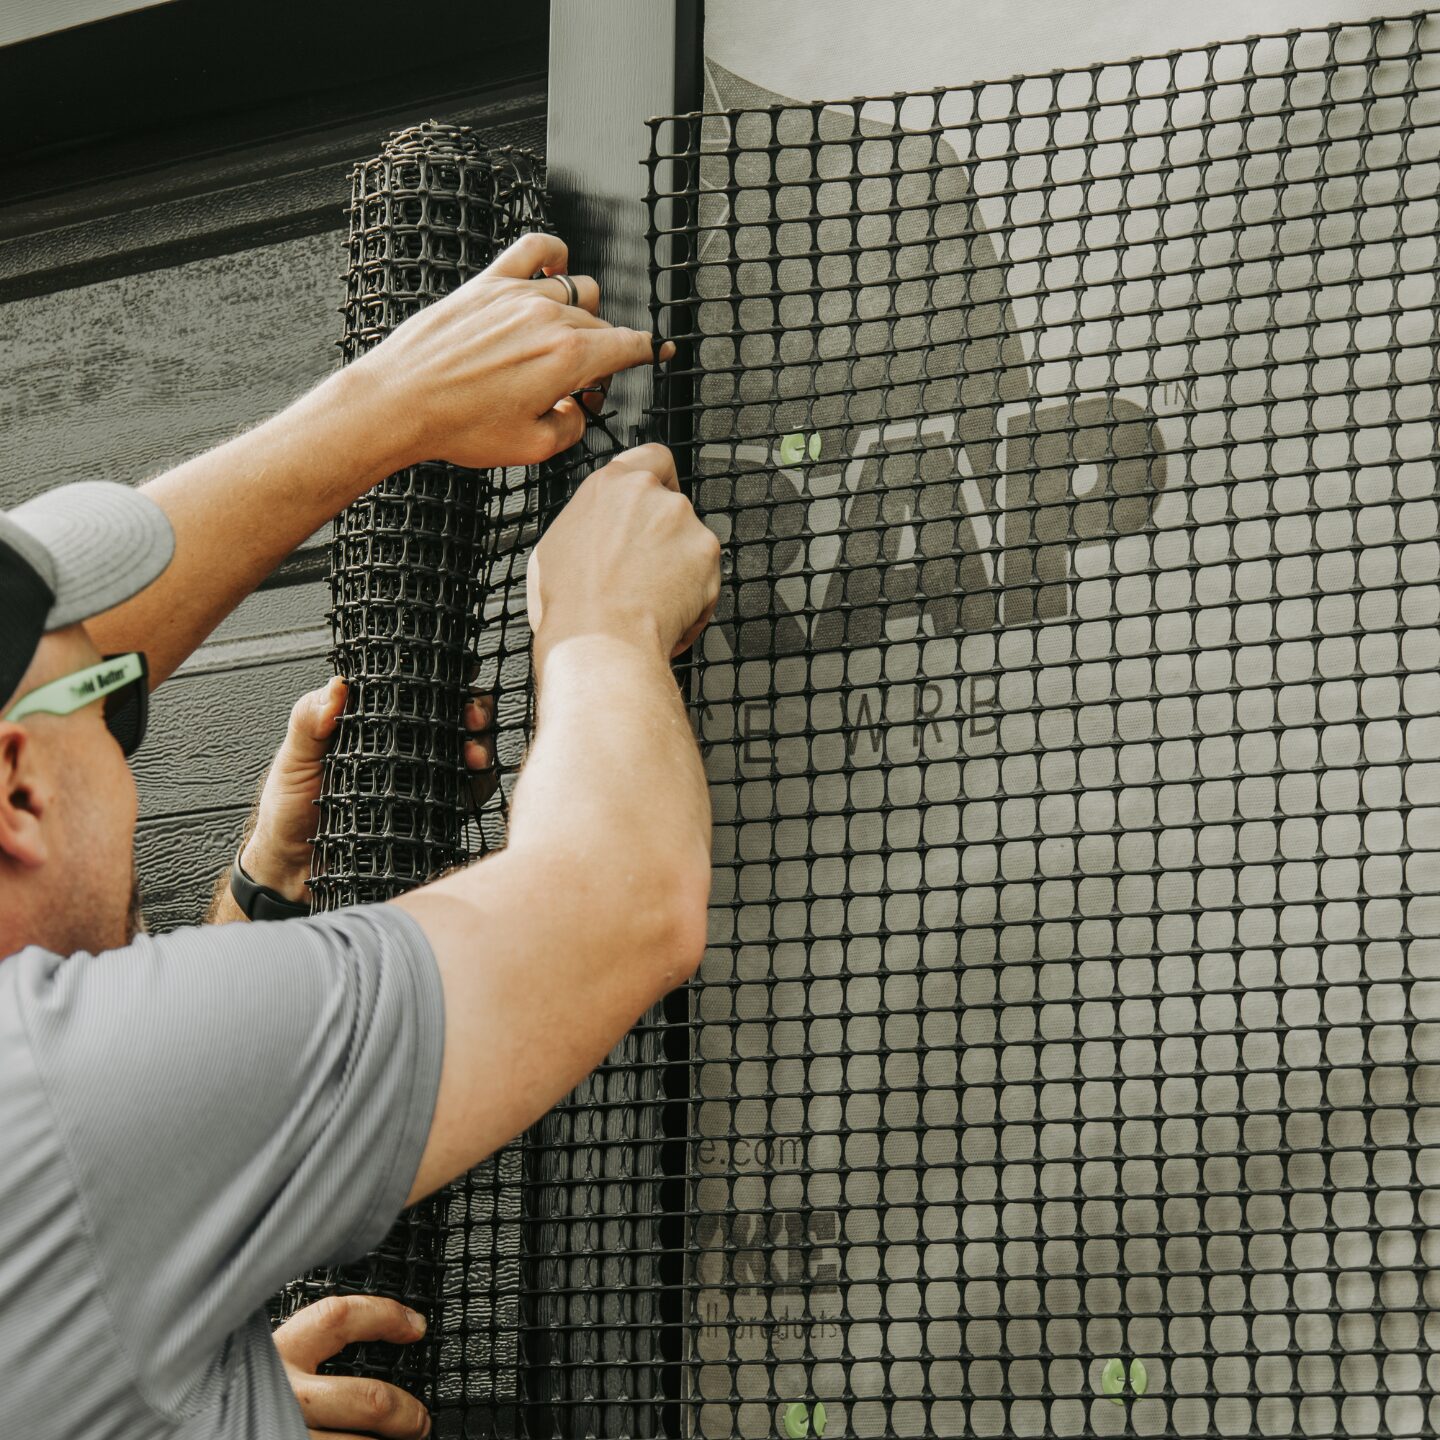
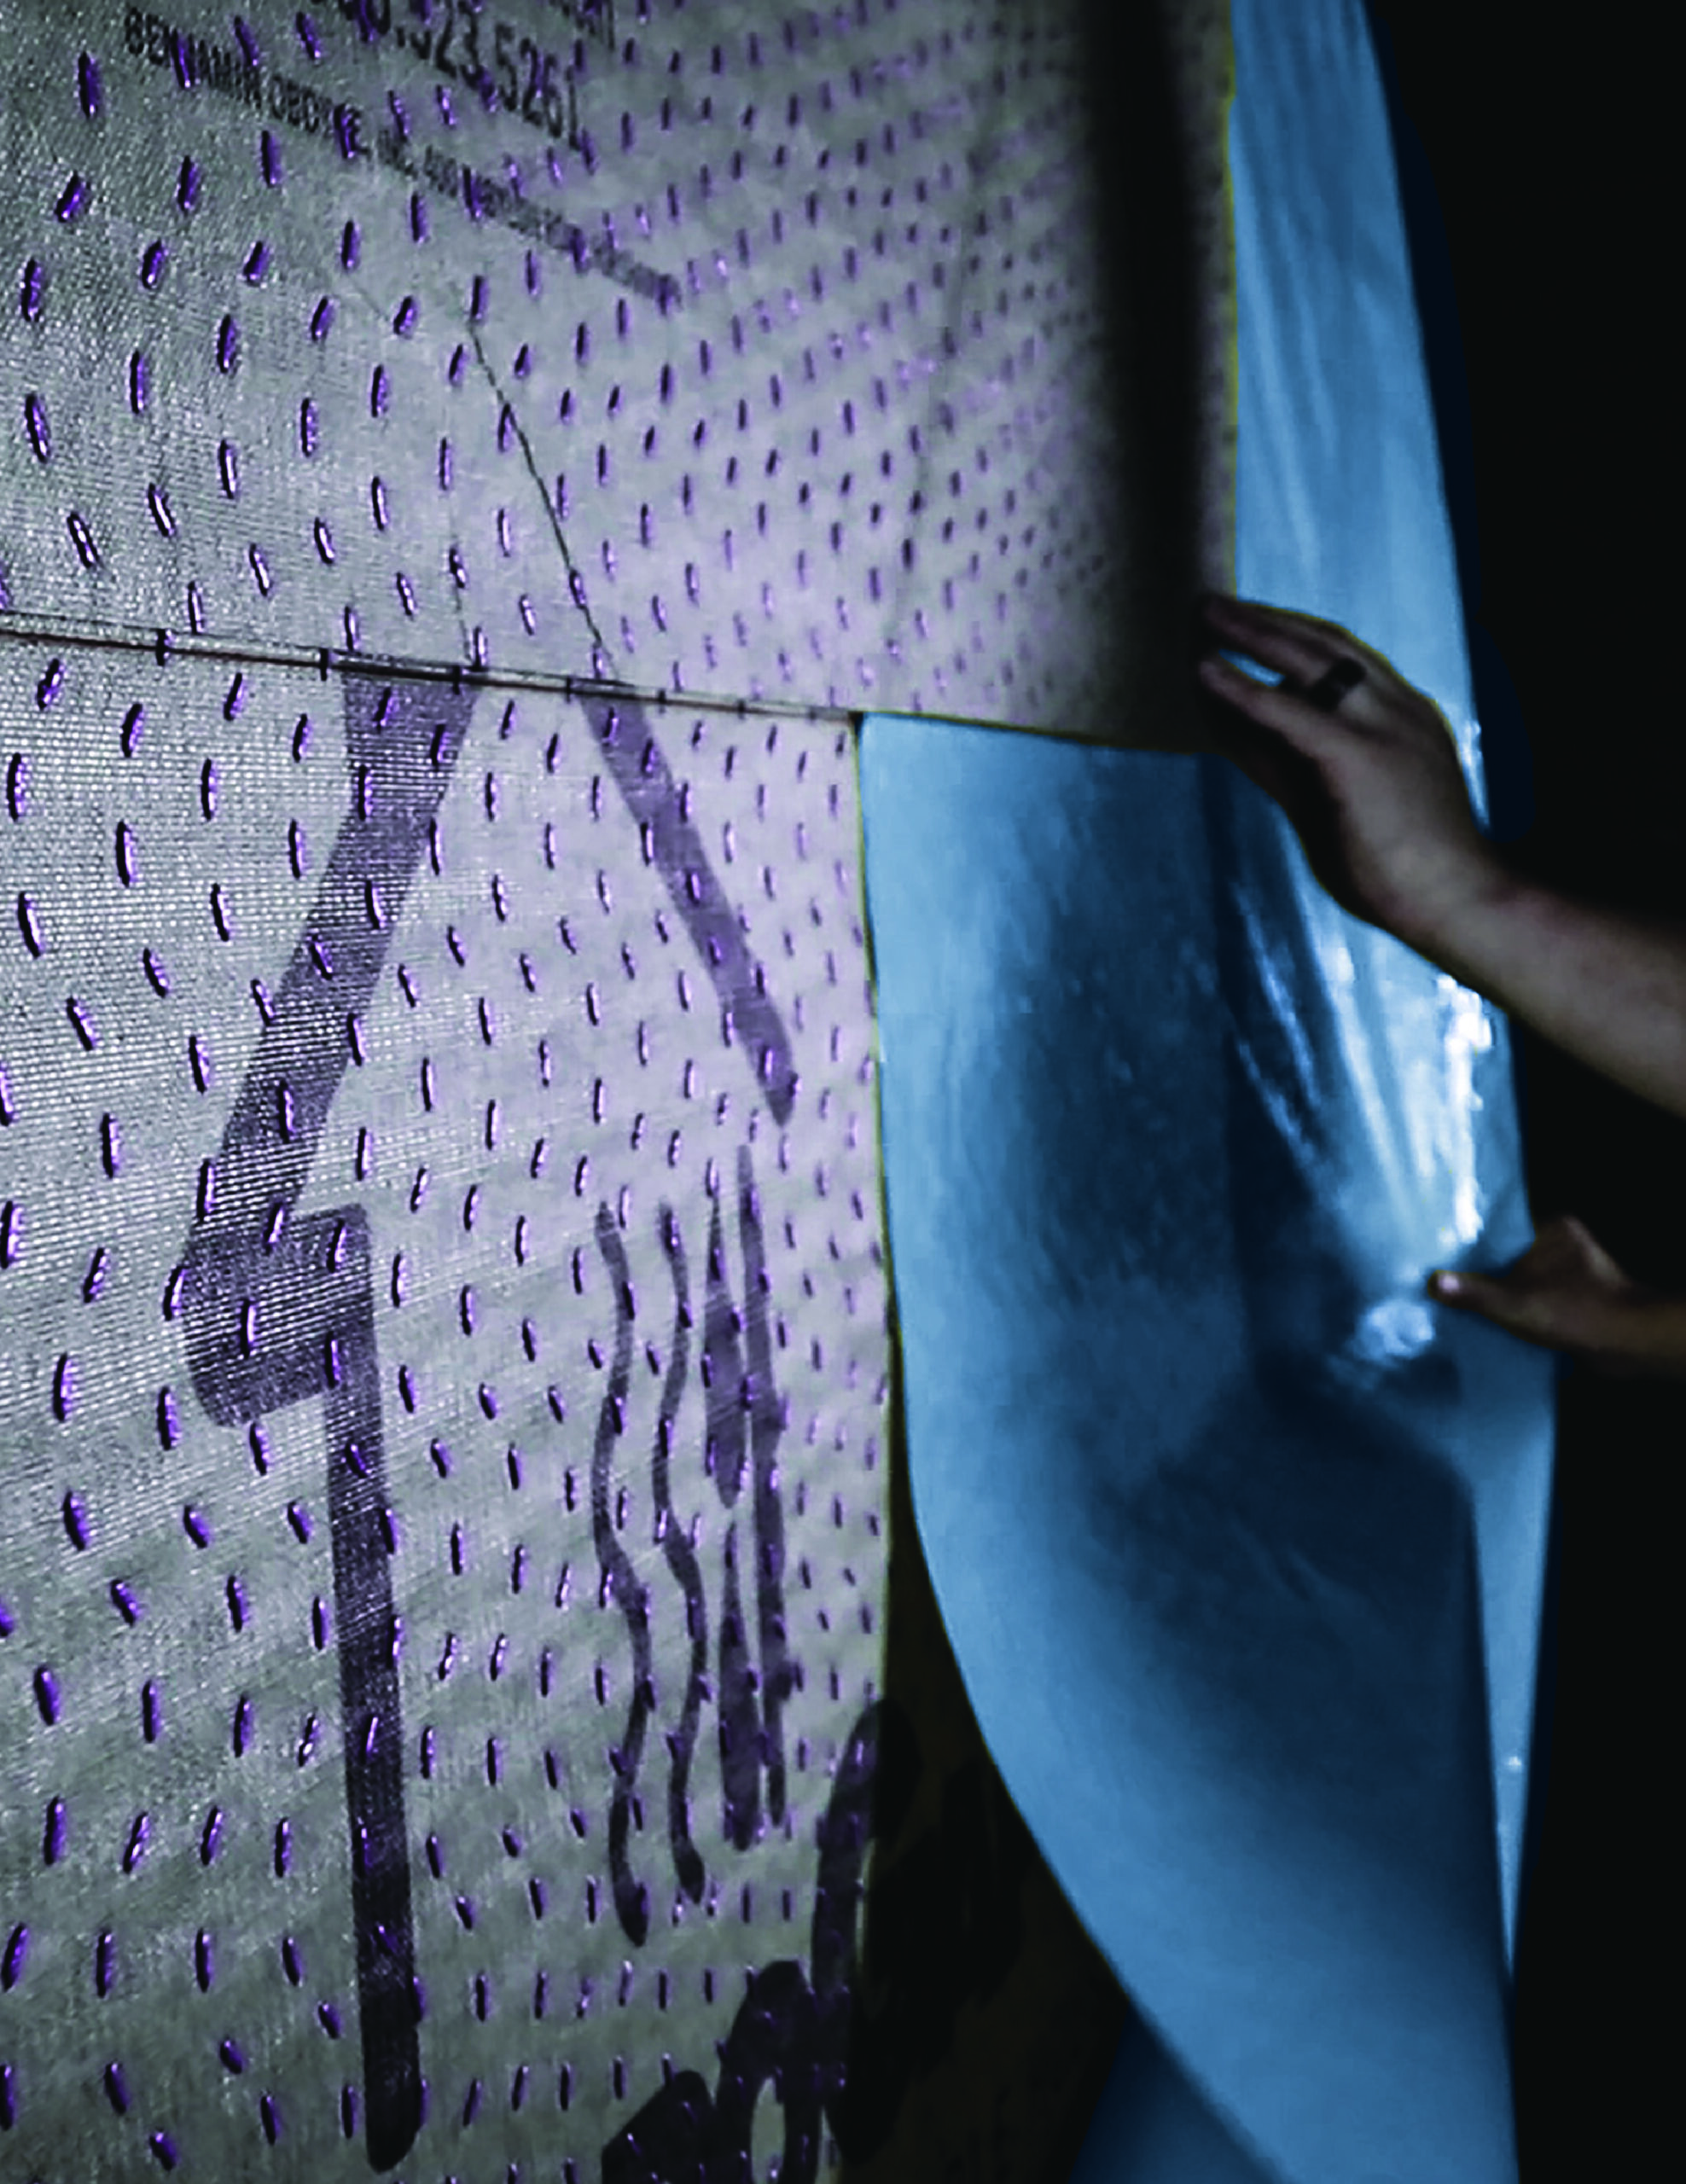
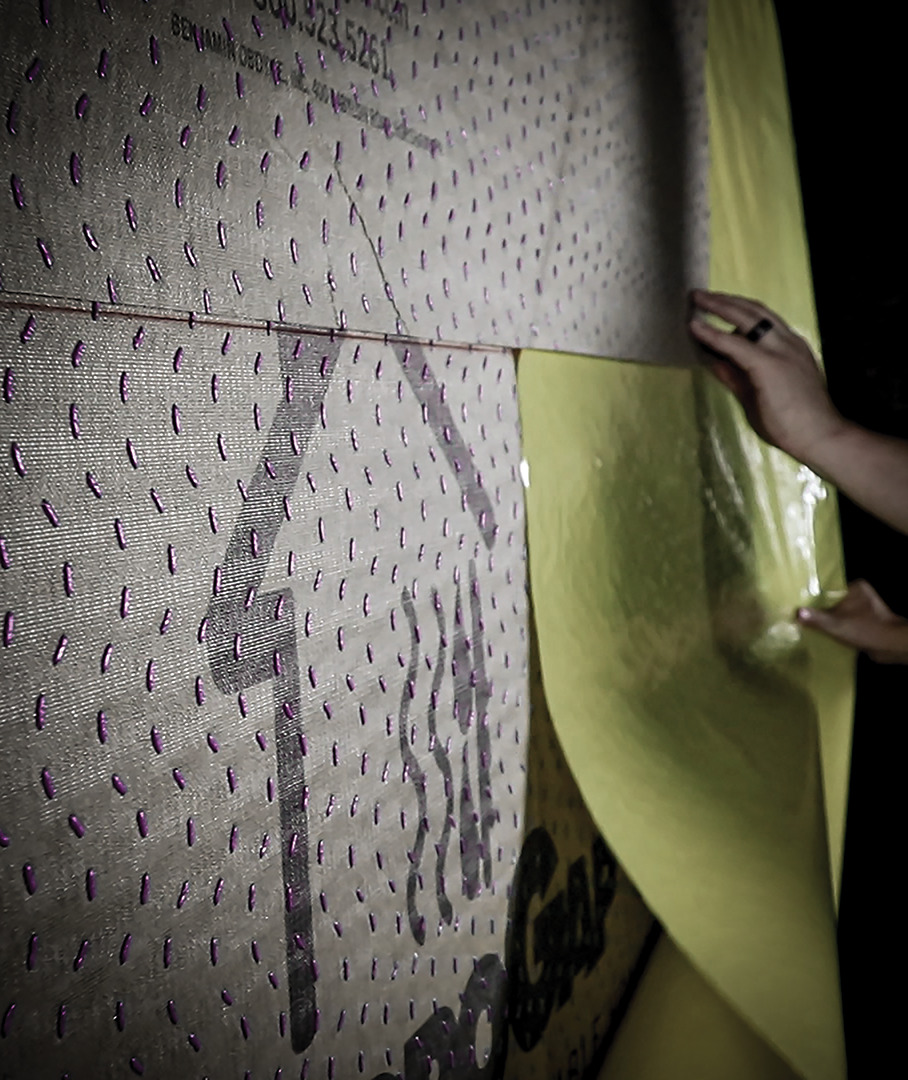
Stick and Smooth
Once the surface is ready, it’s time to get the product up on the wall. Gradually release the liner and begin sticking it to the surface. If needed, you can use fasteners to keep the WRB in place. Reposition as necessary to eliminate wrinkles. Once you’re satisfied with how HydroGap SA is positioned, begin applying firm pressure with a squeegee, roller, or push broom, ensuring maximum contact between the adhesive and the surface.
Act Patiently
Self-adhered products can require an extra level of patience—and that’s okay. If you get frustrated, take a moment to remember the plan and goal you want to achieve then move forward. It’s more important to do it right rather than to rush.
If you don’t want to wait to get your hands on the product, request a sample today!